
Having been raised on a steady stream of my mama's back issues of Better Homes and Gardens and Southern Living, I love decorating for the holidays, and of course the Christmas tree is the main event. This year, as I put away my fall decorations and washed the Thanksgiving dishes, I found myself dreaming of a much different Christmas decorating direction than I usually take. My mind was on the Paris attacks and our troubled world. My heart was praying for peace. So that's what I decided to turn my Christmas tree into - a prayer for peace on Earth. While putting together a little inspiration board on Pinterest, I came across the perfect ornament from JoAnn Fabrics:
Unfortunately, that perfect vintage map ornament was sold out online and nowhere to be found at my local store. But, hey, I was in a craft store. I could make my own map ornament happen. I found these cardboard ornaments and vintage-style map scrapbook paper (these are actually from Michael's).

The first challenge was figuring out how to get flat paper onto a 3-D surface. I've done a lot of decoupage projects, but never onto an almost round object! I created a stencil by using colored chalk on the edges of one "wedge" of the ornament and running it over the back of my scapbook paper. I cut out 6 leaf-shaped pieces of map paper for each ornament, making them a little bigger than the actual sides of the ornament.

The next step was breaking out my favorite craft supply: Mod Podge! I used the little sponge applicator because it was handy and because I was working with a small surface area.

Still a little worried about the physics of flat paper on a curved surface, I decided to wet the "leaves" before sticking them to the ornament - kind of a papier mache technique.

Through a little trial and error, I learned that the best way to cover the ornaments was to place one edge of the map paper "leaf" flush with the edge of the ornament, with excess paper hanging over the other edge.

I used the sponge tool and Modge Podge to press down the excess paper. Going width-wise rather than down the length of the paper seemed to work the best.

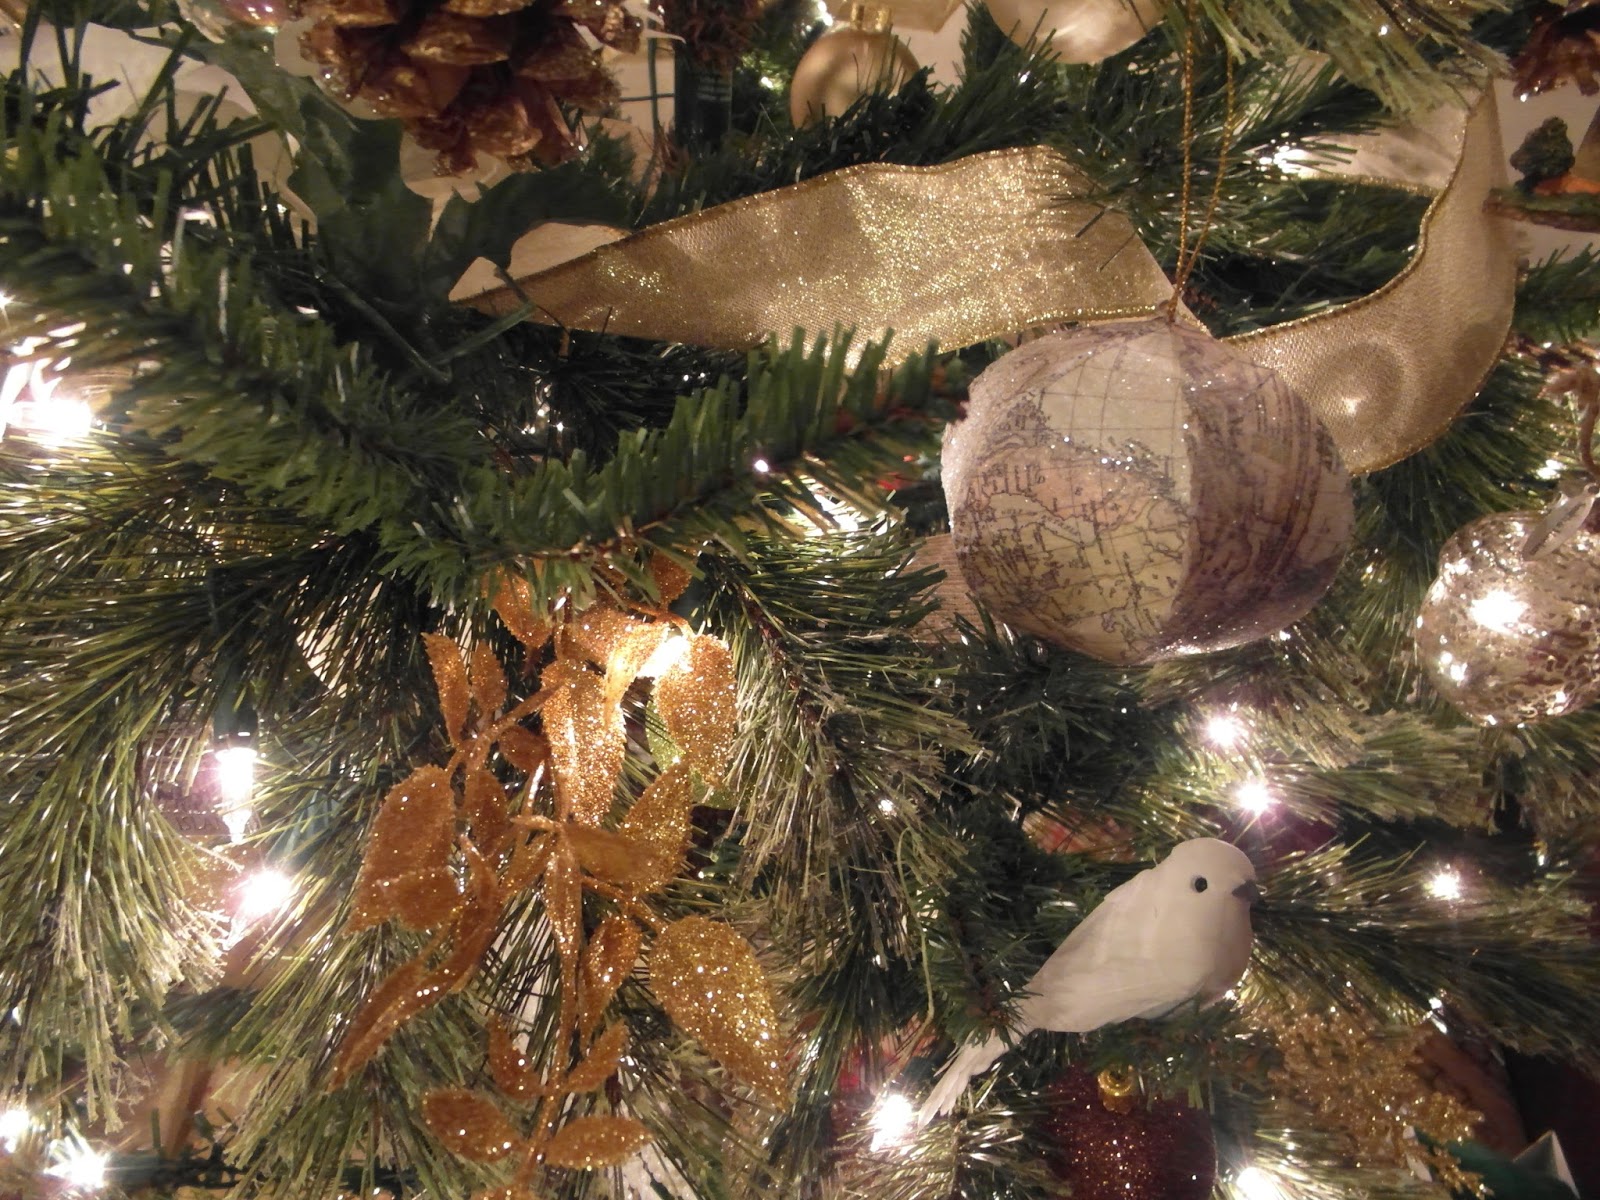
Using this method ensured that the whole ornament got covered with paper. Here's what the finished product looked like:

But of course, I wasn't done yet. After letting the ornaments dry for about an hour, they got a coat of spray adhesive and Martha Stewart crystal GLITTER!


Each time I spot one of these ornaments amidst the branches of our Christmas tree, I'm reminded to pray for peace for our troubled world. I love the way these ornaments turned out and what a versatile idea this is - any kind of paper or fabric could be used to match any theme, and the cardboard ornaments are available in several different shapes. Please let me know if you try this idea - I'd love to see how many different takes on this project we can come up with!
Linking Up:
Flaunt It Friday at Chic on a Shoestring
Tutorials and Tips at Home Stories A to Z
The Party Bunch at Whipperberry
Share It at The Winthrop Chronicles
No comments:
Post a Comment