Showing posts with label chalkboards. Show all posts

Friday, December 27

Holiday Home Tour: Merry Christmas from the Country Townhouse!


Continuing with my "better late than never" approach from yesterday, I finally got my act together and got my house ready for a holiday blog tour.  I love poinsettias so they are always on my front door wreath.  This year, I added silver ribbon that was left over from trimming our Christmas tree.  You can see last year's Dickens-inspired version here and the original, simple wreath from 2011 here.  With a sturdy wreath form, silk florals, and craft picks, the possibilities are endless, and I really like the elegance the ribbon adds.


When I ran out of space on our kitchen bulletin board to display cards, I used polka dot and striped washi tape to stick them directly to the walls!  I got the idea from this post at Design Improvised.


My counters are stacked with holiday treats for family members and drop-in guests!  This year I made The Dwelling Tree's funfetti sugar cookies and Hershey's crinkle cookies.  Both turned out GREAT - I was finally organized enough to make all of the dough on the 23rd, chill it overnight in the fridge, and do the actual baking on Christmas Eve morning.  I found the square snowflake and cellophane wrapping kits at Big Lots and A.C. Moore.


You can see how I made my chalkboard chargers and matching Christmas tree ornaments in yesterday's post.


These crochet snowflakes are a family heirloom.


The penguin ornament was a gift from my mom this year - she said it was calling my name - and the clear snowflake ornaments and white frosted ornaments are new additions from Michael's.  I tried to keep an overall simple, sparkly, snowy theme in mind and I used very little red and no green or gold on the tree this year.


I was really excited to find Hershey's chocolate mint flavored candy canes!  It's the little things, y'all.


My little snow jars were one of my first holiday crafts this year and probably the easiest - I added Epsom salts, mini pinecones left over from Breeze's wedding, and colorful tiny jingle bells and called it done.  The square Mason jar was a gift from Breeze.  I'm not really a big candy dish person (they make me feel like an old lady) but apparently they are a popular teacher gift, so I went with it.


I used PicMonkey to edit the photos in this post.  
For a limited time, my readers can get a FREE DAY of PicMonkey Royale!

Happy Holidays!  Linking Up With:

 photo linkup13001_zpsd63590aa.jpg

Thursday, December 26

Happy Holidays! Chalkboard Christmas Ornaments + Chalkboard Chargers


This year, my Christmas decorating was inspired by the movie It's a Wonderful Life - and when I think about that movie, I think simple, lots of snow, and black and white.  What else is black and white that I adore?  Chalkboards, of course!  This train of thought led to what I'm pretty sure are my favorite crafts I've done in 2013: Chalk Art Christmas Ornaments and Chargers!


When I saw these plastic ornaments at A.C. Moore, I knew I wanted to turn them into Chalk Art Christmas ornaments.  These kinds of ornaments are wonderful because they are fillable, paintable, sticker-able - you could really turn them into anything to fit your decorating theme.  I especially like that they aren't fragile like glass ornaments, and that they can usually be found for $1 or less each.  I also picked up 4 shiny gold chargers from the Dollar Tree with visions of chalkboard paint dancing in my head.


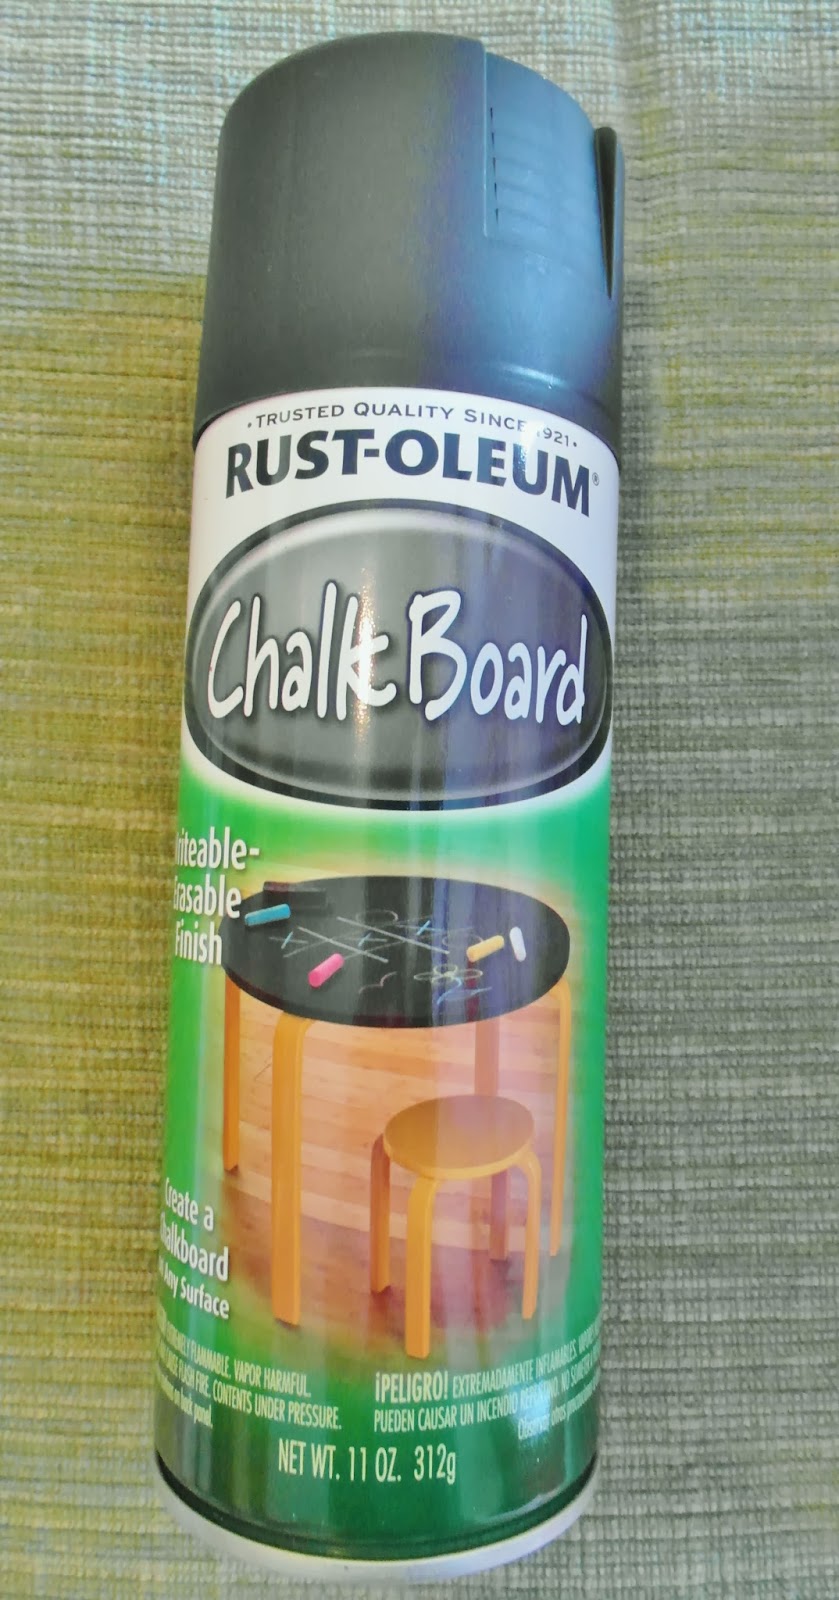
I invested in Rust-Oleum Chalk Board spray paint, also available at A.C. Moore.  This is really similar to the Krylon paint I used for all of the chalkboard crafts for our wedding, but I think I like Rust-Oleum's formula better.


This is the really fancy apparatus I set up for spray-painting the ornaments - kitchen skewers and planters.  I like to use what I have to get projects done quickly.  I just plopped the chargers right down on top of the leaves.  I sprayed one coat, waited an hour, sprayed a second coat, then waited 24 hours for everything to dry completely.  Thin coats of spray paint are key on the ornaments; otherwise drips are very evident when they are dry.


When the paint was completely dry, I "seasoned" the chargers and ornaments by rubbing all over with the flat side of a piece of chalk and then a dry paper towel.  If you skip this step, your chalkboard projects won't be erasable.  Doing this also leaves a chalky residue that keeps your projects more "rustic chalkboard Christmas" and less "goth Christmas with Alice Cooper."


I had way more fun than I probably should have playing with my new chargers and ornaments.  I think the ornaments would make great "placecards" for Christmas dinner (that guests could take home and add to their trees!).


Monograms also look really great in chalkboard form... but I had bigger plans for these babies...


Mr. Q and I picked some of our favorite Christmas-inspired words and I used my best teacher cursive to chalk them onto the ornaments.


Then, to make the ornaments permanent, I went over my chalk with a white paint pen.  See how much crisper the paint looks?  For a slightly less permanent version, you could use a chalk marker, which would be removable with a wet paper towel.


I decided to go with regular chalk on the chargers because I have a lot more plans for them over next year's holidays!  I went with an easy little snowflake design.  I love how they look on our table paired with Mason jars, Goodwill milk glass, knockoff mercury glass, and Dollar Tree plates.

Happy Holidays Everyone!  Linking Up With:

Tuesday, July 23

summer style: what to wear to a casual bridal shower

This past Saturday was one of the most anticipated days of my summer: my BFF's bridal shower!  Honestly, the last time I hosted a big party was my own wedding, and I had the hostessing itch.  Since Breeze's wedding has a rustic theme and laid-back style, we wanted to keep the shower fun, casual, and a little country.  I'll show you the inspiration for Breeze's wedding and what we did for the shower later this week, but first I wanted to take some time to daydream about how I would decorate and what I'd wear if I had a magazine editor's budget.  I came up with a vintage inspired farmhouse-style summer shower with coral accents, and a dress that keeps finding its way into my ModCloth cart.


Hosting a Summer Bridal Shower

Disclaimer:  ModCloth links contain an affiliate code.

The Outfit: 1. Floral dress from ModCloth  2. Betsey Johnson pave stud earrings from Lord and Taylor 3. Fossil lock and key necklace from Macy's  4. Fossil crosshatch iPhone case  5. Kate Spade bridesmade idiom cuff bracelet  6. Max and Chloe sterling silver monogram bracelet  7. Straw Studios crochet handbag from Nordstrom  8. Camper wedge sandals

The Serveware:  1. 12" x 20" Wooden tray from Bed Bath and Beyond  2. Chalkboard condiment tray from Pier1  3. Scalloped cake stand from Pier1  4. Mason jar  style drink dispenser from Bed Bath and Beyond (also available at World Market) 5. "Emma" cupcake liner from Dress My Cupcake 6. Libbey dessert spoons from Bed Bath and Beyond  7. 13" Chip and dip tray from Bed Bath and Beyond


Tuesday, March 22

Thank You Sign Idea


I'm sure you've seen "Thank You" parasols like these before... they are very popular in the wedding blogosphere these days. I tossed out the idea of using parasols as photo props for our wedding because neither Mr. Spin or my mom really understood how cute they can be! The biggest argument was that we're not getting married at the beach or outdoors so just buying parasols for a photo op seems like a waste of money. I can understand that reasoning.


This week we received a sweet thank-you note from a recently married friend. They used an online photo processing service to have a photo printed onto cards... and the picture was very similar to the one above, which Mrs. Trail mix used in her farewell post on Weddingbee today.

Not a parasol. And totally adorable.

Which got my gears turning. What could we use that would suit our vintage/elegant/literary inspired decor?

Then I got an idea, and of course it's not really all that original after all. A quick Google image search showed me not only that this idea has been done before, but that it can be adorable!


Chalkboard thank you photos!


How awesome is the vintage frame on the above chalkboard? Mr. Spin and I did propose to me in MY CLASSROOM, after all, and I'm already planning to use chalkboards for the menus. Time to hit up Goodwill for some vintage frames and Lowes for some chalkboard paint!

Are you hopping aboard the photo thank-you card train? Will you be using any props?